
The Keyboard Build Part 1: Research, design, assembly
It's no surprise that I make a living off of computers, be it programming a web application or automating an entire data center. I've used computers since I was very, very young. All that use, however, doesn't come without a cost. We're now seeing an entire generation of people like myself that have used computers in one form or another all their lives, and many of those people are starting to reach a point where age makes itself manifest.
Despite numerous improvements to my working environment, I am slowly developing a Repetitive Strain Injury due to the constant use of computers and keyboards. I often wonder if some decades in the future how society will cope with an entire generation of people with ruined wrists and arms. Since changing careers isn't really an option for me at this point, I have to go to further lengths to reduce the strain my job incurs on this mortal frame.
I've already tried several things. I got myself a convertable standing desk. This encourages me to frequently change my working position. I bought myself an ergonomic mouse after years of using a low "finger mouse", which reduced a lot of wrist strain due to pinching hand positions. Then it came to keyboards....and I ran into problem after problem.
You'd think that it would simply be a matter of buying a new, ergonomic keyboard. All you need to do is find something off the shelf with the appropriate features, and boom, done. Let's start with some requirements:
- The keyboard should come in a split layout.
- Ideally, each half of the keyboard could be positioned up to one chest-span away to reduce shoulder tension.
- Inclining and tenting the keyboard is a bonus, although unsure if that would help with my forms of strain.
- Ortholinear would be a nice thing to try, but not necessary.
- Bluetooth and multi-device would be nice.
- Longevity, or at least, ease of serviceability.
- Visual appearance.
That's all pretty typical for keyboard shopping. There are tons of solutions you can find that will meet some, if not all of those requirements. But there was one that I never expected that overshadowed them all:
- It has to fit on my desk.
It was this last one that kept coming up and killing option after option. The problem is that I have a Varidesk 36. It has a seemingly huge keyboard tray, until you factor in how I use it. Most of that space is taken up by my arms literally resting on the tray. By keeping those neutral, I know I can reduce a lot of strain elsewhere. The problem is that the keyboard tray has two areas: The largest space is near the body and provides support for the arms. It's almost a meter wide, but then a top area narrows significantly to less than 50cm. This space, due to the arm positioning, needs to accomodate both my keyboard and my mouse. This results in an effective keyboard space of only 34cm wide.
There isn't a commercially made keyboard made that would fit that space.
The closest I came when researching my options was something like The Ultimate Hacking Keyboard, which would fit the space, but I balked at the up front cost. It's less that the UHK is expensive -- it's well priced for it's niche -- it's that I'm a cheapskate.

Throughout all of this I had neglected an option that seems obvious in retrospect. If you can't find a keyboard you like, build one yourself! Despite projects like The Cardboard Pi, I seemed to have this metal division between DIY electronics and, you know, "real" computers. I couldn't just build a keyboard, I told myself, that's for professionals and people that know more about this than me.
Then, something pretty wondered across my social network feeds.
I'm used to the idea of computers being utilitarian devices with few design flourishes. Given my history of second hand, and clearance devices I often had to work with, I tend to consider looks secondary to things like longevity and power. This also extended to keyboards. It never really occurred to me that there is an entire community of people that think these boring devices could use a more artful touch while remaining functional.
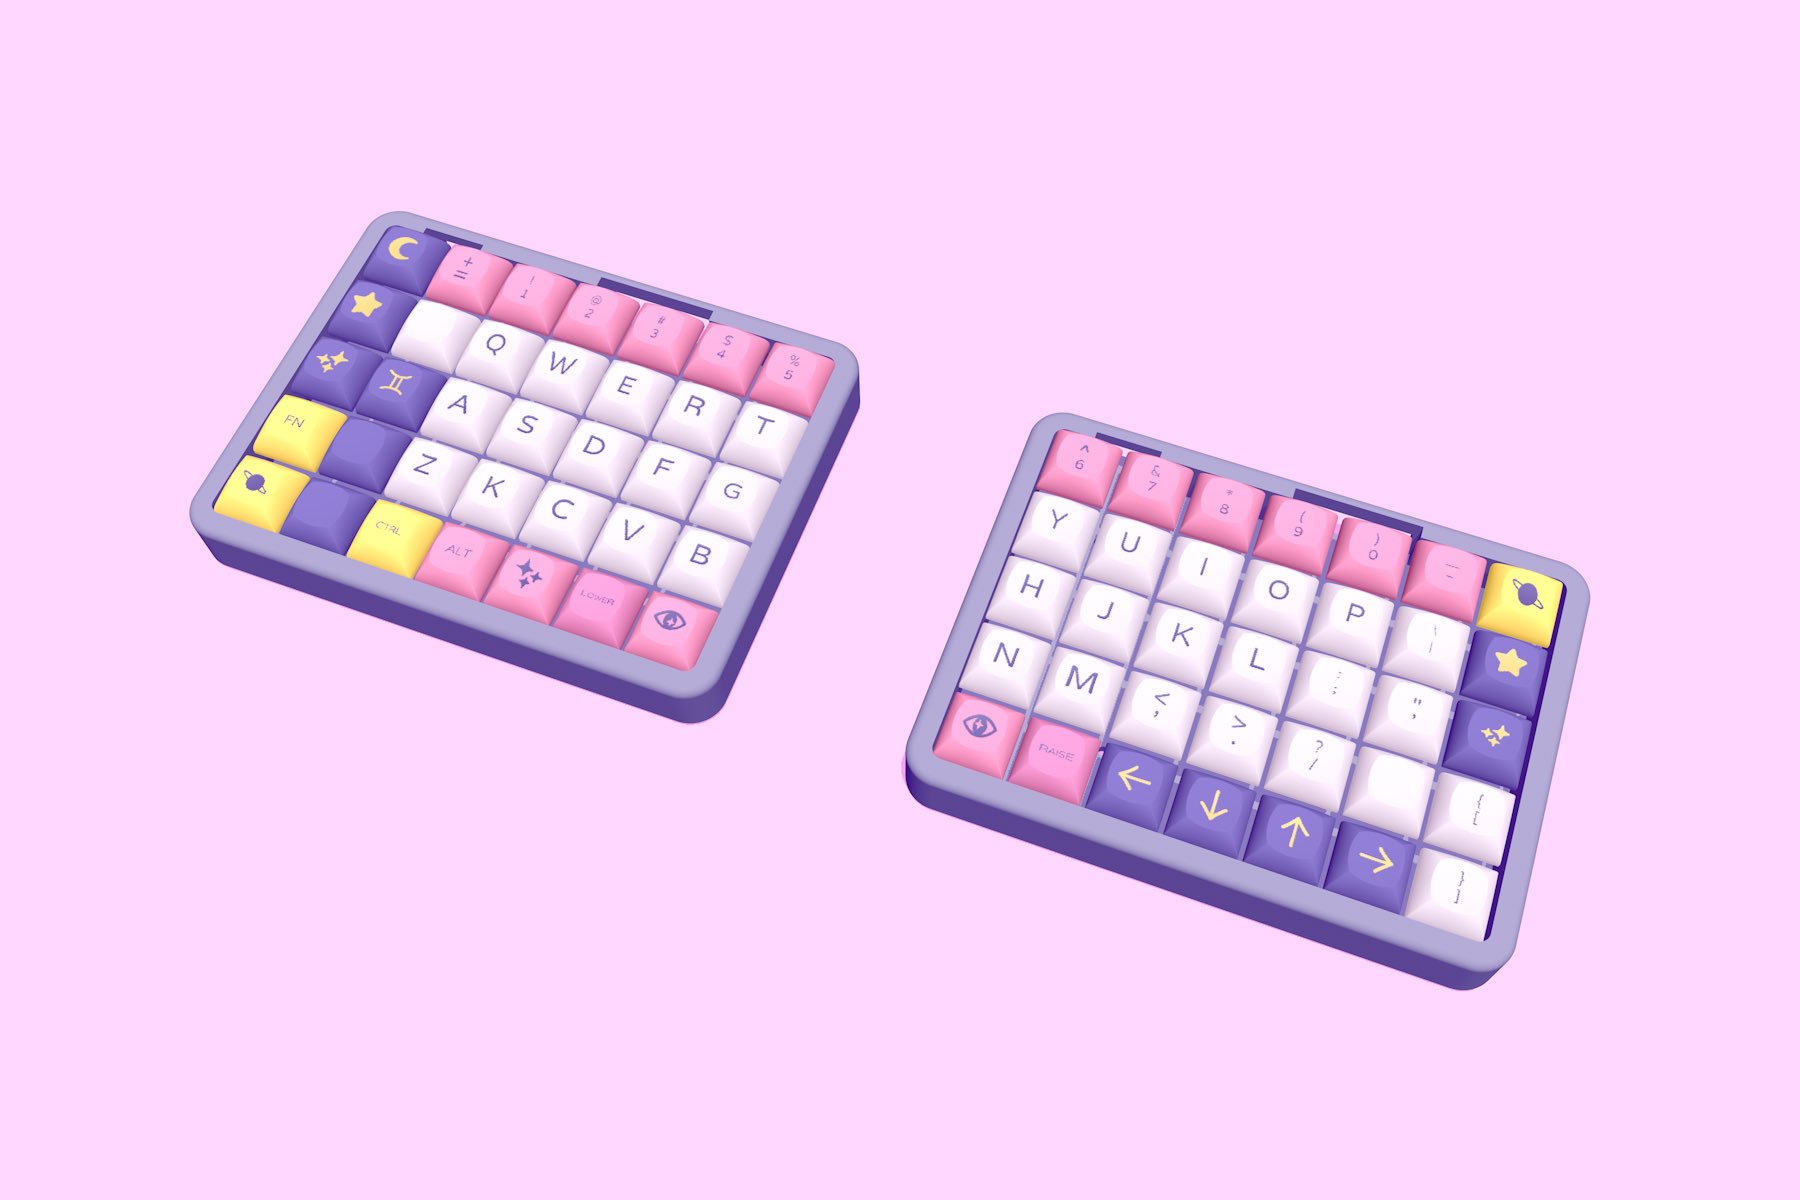
Some months prior to the writing of this post, SailorHg announced Astrolokeys, a custom keycap set with a soft, space-y theme reminiscent of Sailor Moon.
I have...complicated...feelings about cute things. When growing up, I was strongly discouraged from liking anything that could be described as feminine. My dad seemed to care less about this than my mom, to the point I recall overhearing them argue about a prized My Little Pony doll I had gotten for Christmas once. That moment instilled me a great deal of shame. Growing up in a cis-normative and hetero-normative society did the rest.
So, this wasn't just about some nifty keycaps for me, it was an opportunity to push back against that aversion and shame just a little bit more.
While I adored the space-y special keys, the alphanumeric keys came in white. The combination looks great, but...it wasn't for me. I tend not to like white keys as I find they show wear and staining more than their darker counterparts. I figured I could kitbash the Astrolokeys with a darker alphanumeric set. After searching, I came across a set of translucent, dark keys from MaxKeyboard. I paired them with a set of "magenta" LEDs (they're more purple in person, to my delight). As a bonus, the letters are printed on the side of the keycaps, rather than the face.

The Astrolokey's set relies on an "MX compatible" key switches. These have a little plastic cross which snaps into the cap. One would think that made some decisions for me, but you'd be wrong.
Mechanical keyboards rely on individual key switches, and as one would expect, there's a lot of different kinds to suit different uses and even different tactile preferences. It's a lot like coffee; there's "a cup of 'joe", and then there's dark-roasted Sumatran served Americano. A lot of people are happy with just any coffee or keyboard, but many of very specific preferences and matching strong opinions. Many suggest you get a "switch tester" to see which kind of key feels right to you. Not knowing any better, I ordered one.
There are several different kinds of key switches available depending on your preferences. They can be "clicky" or not ("linear"), loud or silent, require a light touch or a heavy one. After playing around with each and even doing blind tests, I found out I simply didn't care for loud or clicky. I grew up with quieter keyboards that required only a minimum of force. Furthermore, I preferred a squishy feel near the bottom of the key travel, rather than a hard stop.
Try as I might to convince my fingers otherwise, I ended up with Cherry MX Red keys with O-rings to dampen the bottom of travel. It's more a gamer's key switch configuration than a typists, but that's what my fingers liked.
The problem throughout all of this was there still wasn't a keyboard that would fit my desk. I mentioned this to SailorHg on Twitter, and to my astonishment, she replied with several options from a DIY site called Keebio.
I was thunderstruck; Of course there are kits for this sort of thing! Why did that never occur to me?! After looking over my options, I settled on the Levinson -- a 40% sized keyboard that would easily fit in my confined space. Contrary to what you might expect, the 40% isn't related to the size of key key, but to the total number of keys on the board. Most QUERTY, US keyboards have at least 6 rows of keys, and often 13 or 14 columns of keys. The Levinson reduces that number to 4 rows and 12 columns.
Numbers and special characters are available through additional key combinations. Like how full keyboards have a shift key, 40% keyboard also have a "raise" and a "lower" key in addition to shift. Instead of pressing the 2 key above the W key, you hold down the raise key and press W. This gives you a 2. If you want to type an at symbol (@), you would hold down the lower key and press W instead. It takes a little getting used to, but it's a habit you can pick up quickly with some practice.
I ordered all the parts and waited for them all to arrive. While I expected them to take a week or more to arrive, but Keebio's shipping was surprisingly prompt and I was able to start soldering the following weekend.
Like many Keebio keyboards, the Levinson has an excellent tutorial on how to assemble the board. The tutorial isn't exactly for the Levinson, but for the Iris keyboard. I had considered getting the Iris, but I wasn't sure if the added width would work for the limited space I had available. Fortunately, the keyboards are similar enough that the differences in the tutorial didn't add too much additional confusion.
As this was a split keyboard, there are two PCBs. Interestingly, the Levinson uses two of the same PCB for each side in a mirrored configuration. I found this rather brilliant, as it means if you need to replace one side, you can simply grab another; no need to worry about which side.

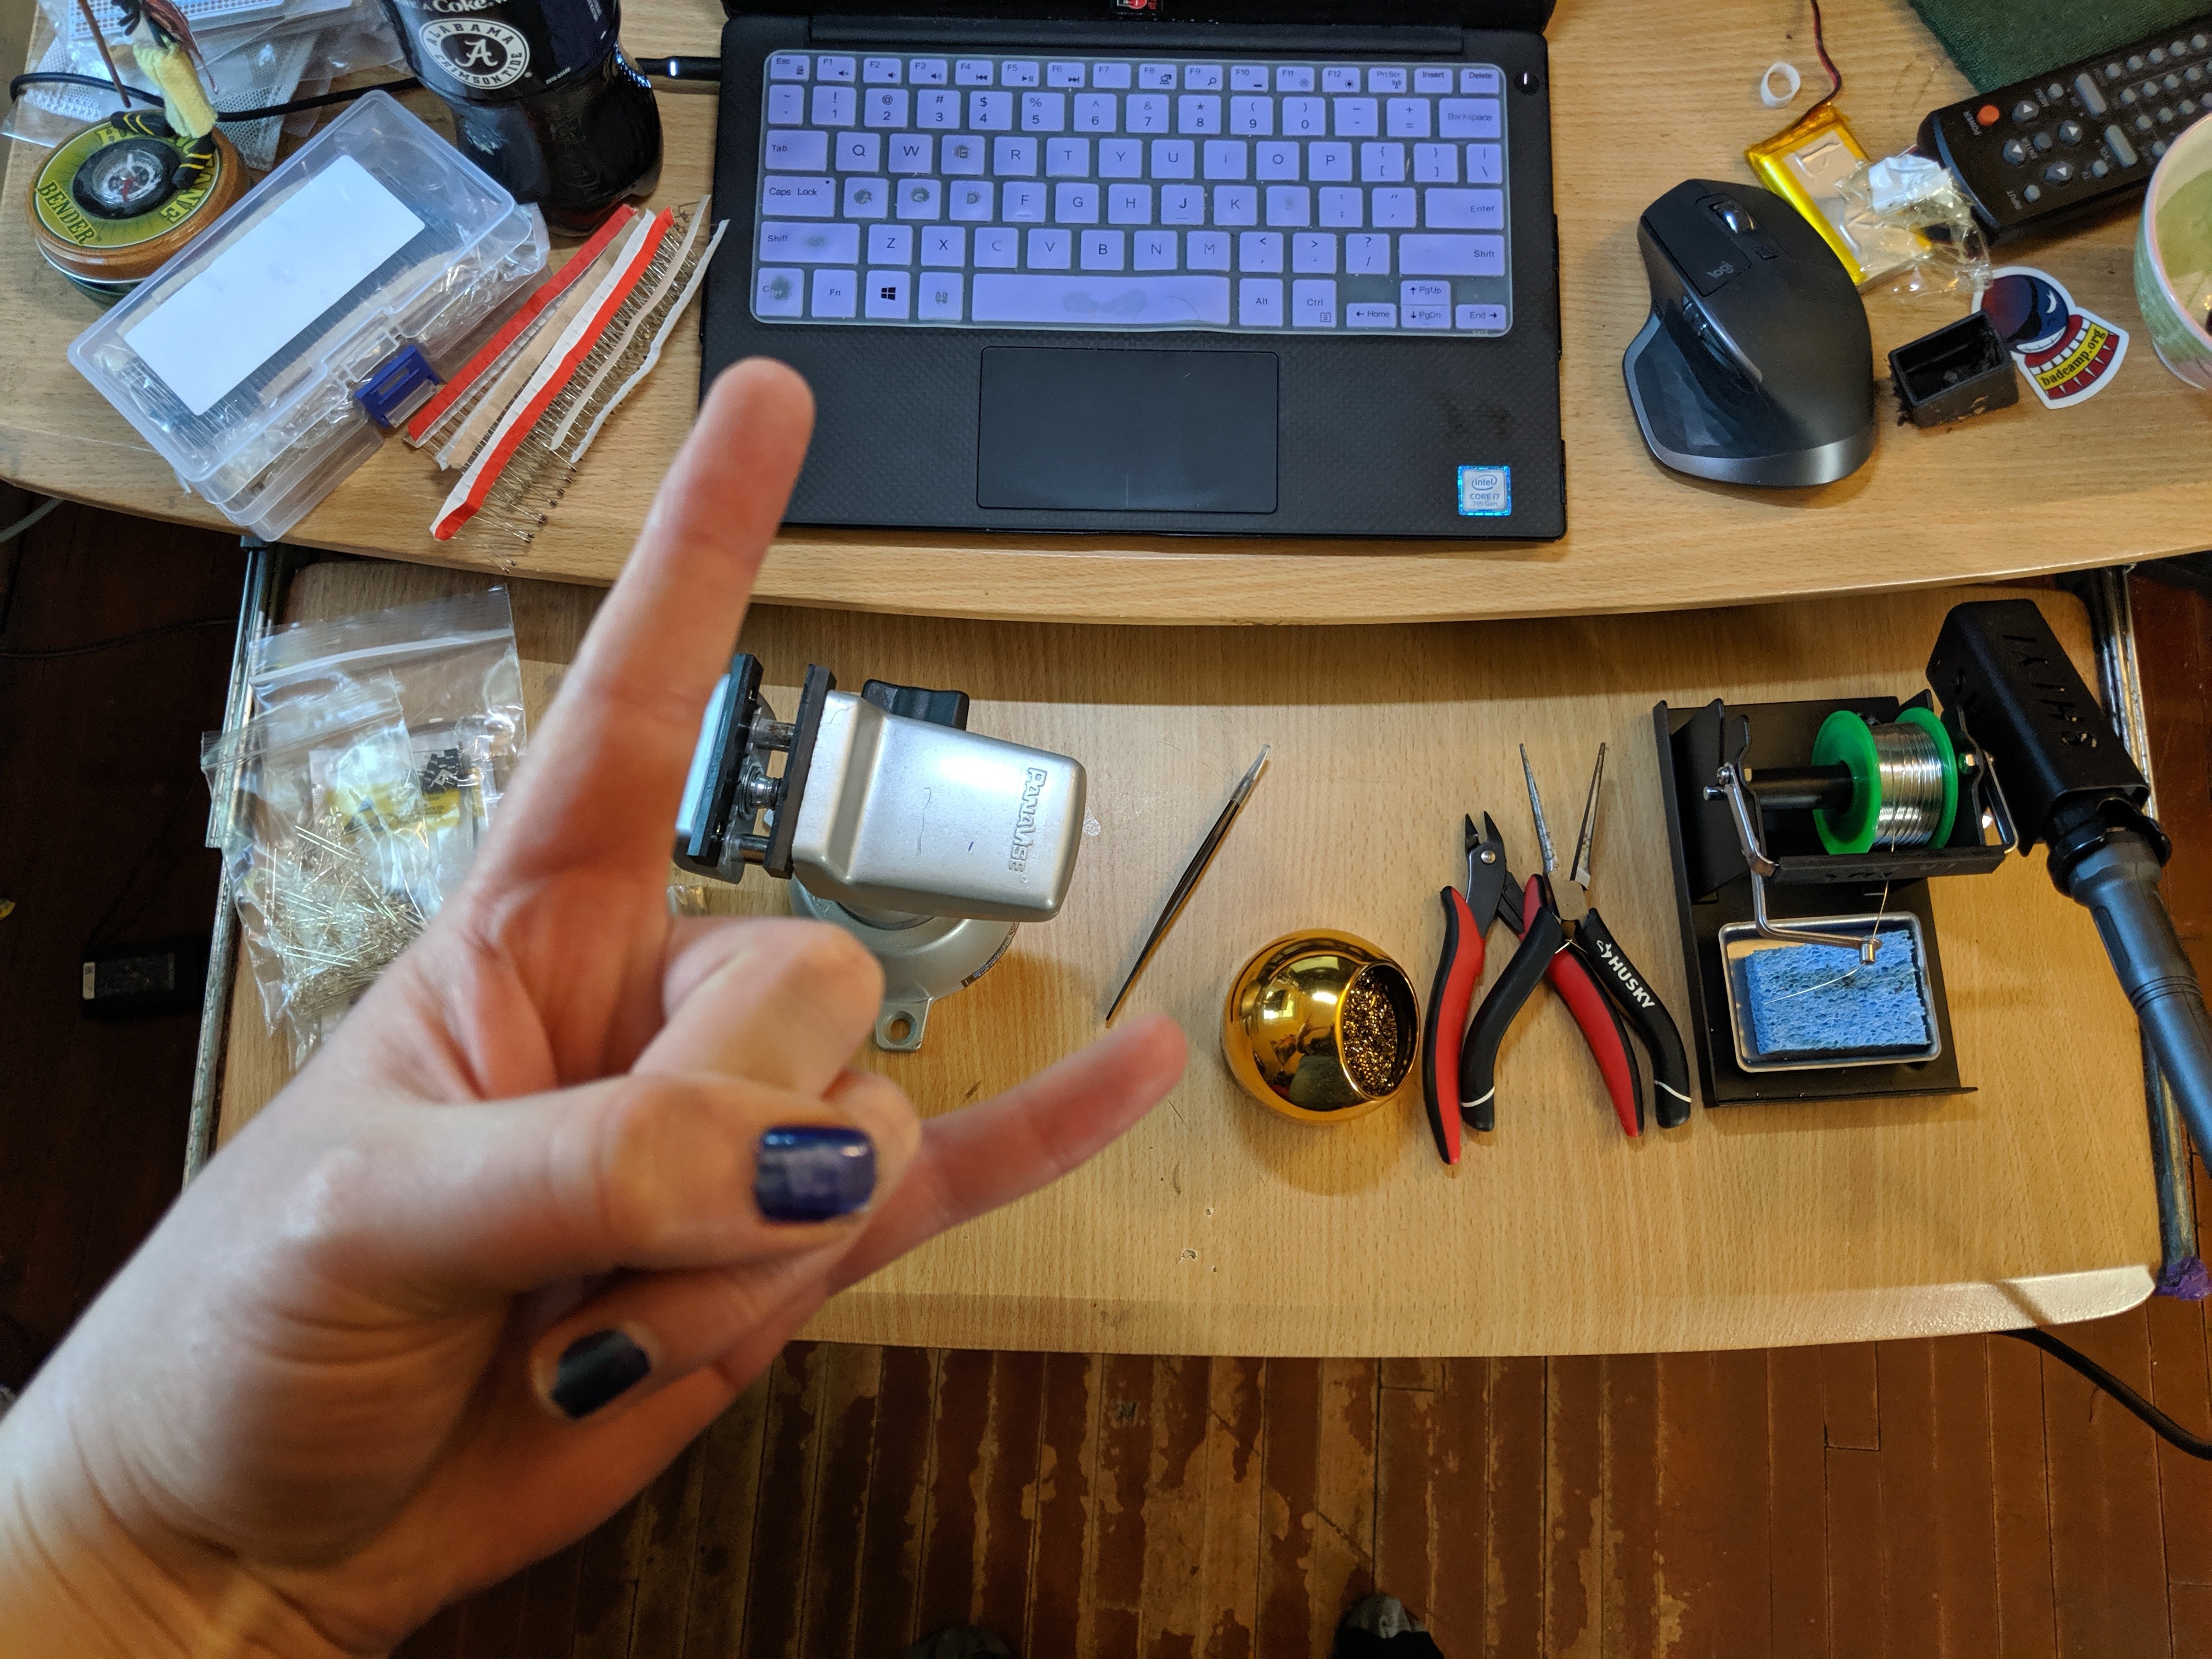
Soldering the components from this point was straightforward. Like most electronic kits, you tended to start with the "passives" such as resistors, and two-axial components such as diodes. Keyboards have a lot of diodes so as to create an electrical matrix comprising of all the keys. This matrix reduces the total number of signal lines from 2 per switch to a more managable 20-40 per keyboard.
Since I also wanted to add LED support, I needed to solder in two small transistors. I've worked with transistors before, but this project had me working with something new. Unlike every other component on the keyboard which had two or more "wires" that went through holes in the board, the transistors were surface mount components.
Virtually every piece of consumer gear today uses surface mount components, but I never worked with them myself. The parts are tiny, and often it is recommended to solder them on with specialized equipment and soldering paste, rather than a traditional iron and wire-form solder.
Still, there were only two of them, so it was time for the scariest part of the build.


Soldering the parts was easier than I expected. Unlike through-hole parts, for surface mount, you first tin (apply solder) one of the pads on the board. Then using a tweezers, position the component onto the pads. Reheat the tinned pad carefully, bonding the part to the board. Allow to cool, check, then solder the remaining pads.
I was more scared of losing the part then I was of the actual process. My office is a living space, rather than a clean room. If I were to drop one of them, I doubt I'd ever find it again.


Adding the keys was more of the same. While it seemed strange, the guide instructs you to first position the top-plate of the keyboard case, then snap a key switch into a space at each corner of the board. This allows the plate to be positioned well when you snap in and solder the rest of the key switches. This surprised me at first, but it made perfect sense once I started.
Soldering the switches itself was a non-event. Position the switch, solder one terminal, solder the other, move on. Even though this is a 40% keyboard, it still took almost two hours to solder all of them in. I had to take a break to let my hands and arms rest during the process.
Once the key switches were in place, I also soldered in the LEDs. Cherry MX switches pass the leads from the LEDs through the switch case to the underlying PCB. Thus, they could only be installed after the switches themselves.
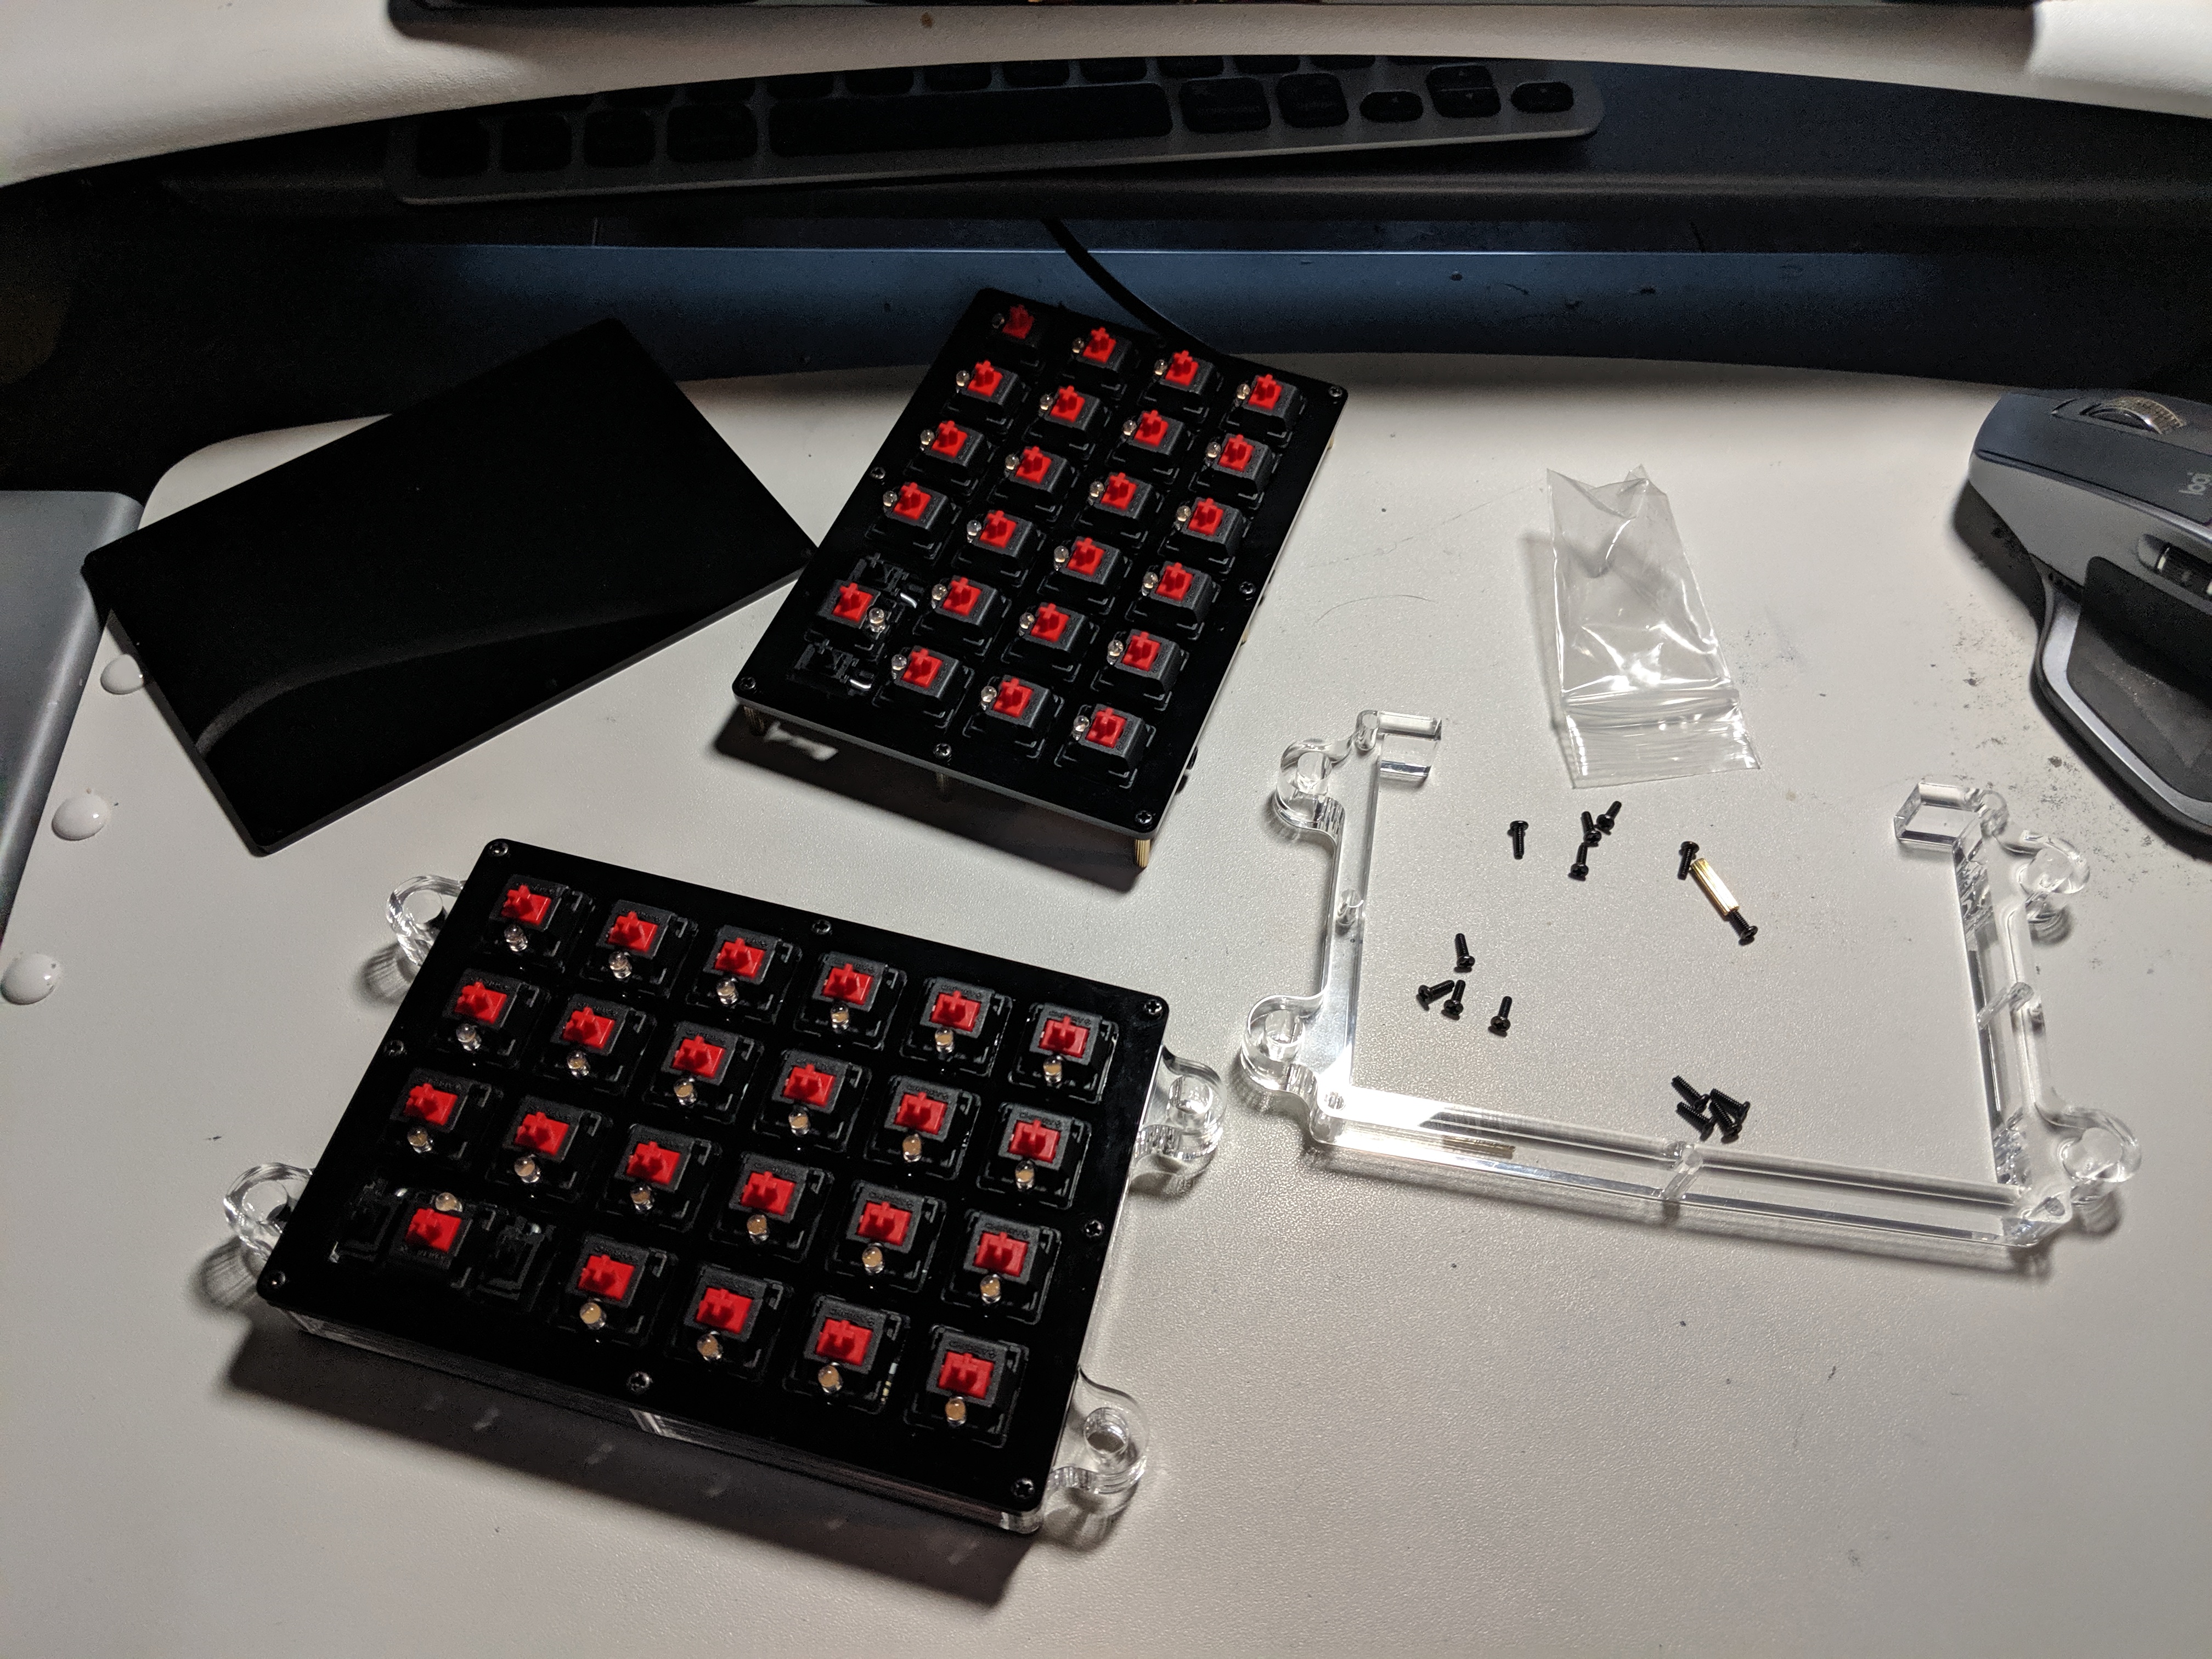
With the components all soldered on -- with the exception of the microcontrollers -- it was time to assemble the keyboard. an acrylic spacer made up the sides of the keyboard case. Another plate closed up the back. Bolts and long nuts tied the plates together, locking the spacer between them. I decided to seal up the keyboard although I wasn't quite finished as I didn't want it lying around my office in a open state. That just seemed to be asking for something to get damaged.
Besides, I wanted to put the keycaps on. At present, I still don't have the Astrolokeys, but I did have a complete set of the translucent black keys, so I started the process of putting those on. First I applied the dampening O-ring to the key cap, then I pressed it onto the switch until it snapped into place. Once done, I had what looked like a functional keyboard.
While I do have the keyboard built and working at the time of this writing, this post has already gone on quite a bit. So I'm going to save the remaining parts for a follow-up. Perhaps by then the Astrolokey's caps will arrive and I can show off the completed keyboard.
In the next post, we'll talk about programming and soldering the microcontrollers, customizing the keymaps, and some failures adding even more shiny lights to the keyboard.
All parts and materials to make this project were paid for my supporters. If you like this post, consider becoming a supporter at:
Thank you!!!


